⚠︎ WARNING: TECHNICAL INFORMATION ⚠︎
Overview
The Ender-3 Pro is an open-source printer created by Creality and was released in 2018.
It has a build volume of 220mm × 220mm × 250 mm and uses a Cartisian Style build (Bedslinger) with a Bowden Extruder. Stock, it comes with a 0.4mm Nozzle and can print at a theoretical minumum layer height of 0.04mm. It uses a 24V power supply and has a heated bed that can reach temperatures of up to 110°C. The stock firmware is Creality's own customised version of Marlin Firmware.
The Stock Ender-3 Pro can print with:
-
Polylactic Acid (PLA)
Most common plastic used in 3D printing due to its low cost and ease of use. It is biodegradable and has a low melting point. -
Polyethylene Terephthalate Glycol (PETG) Used for its strength and durability, it is more flexible than PLA and has a higher melting point. A bit more tricky to work with than PLA.
-
Acrylonitrile Butadiene Styrene (ABS) Known for its strength and durability, it is used for functional parts that need to withstand high temperatures. It is more difficult to print with due to its high melting point and warping issues. ABS is also known to release toxic fumes when melted, so most print it in a well-ventilated or area or enclosure.
-
Thermoplastic Polyurethane (TPU) Known for its flexibility and durability, it is used for parts that need to be flexible or have a rubber-like feel. It is more difficult to print with due to its flexibility and can cause jams in the extruder if not printed correctly. The stock Ender-3 Pro has a Bowden extruder which is not ideal for printing flexible filaments, however if you printed slow enough, it is possible.
My journey
While it is an old printer, at the time when I was considering my uses for a 3D printer, I was wondering if I would frequently use it for my projects and decided to ask my parents if I could get one. And just my luck, they agreed and reached out to a friend who had a spare Ender-3 Pro that they were willing to sell!
My journey with the Ender-3 Pro has been somewhat of a rollercoaster... destroying a few parts along the proccess of trying to get it to work. However, its through these trials an tribulations that I have learned a lot about 3D printing and the printer itself.
Maintenance
I had assumed was that the printer was plug and play, but I was wrong...
I missed out important steps in setting up the printer and maintaining it since it had not been used for some time.
Tasks:
-
Clean the bed
I knew that dust was bad for any print but i didnt realise that just a simple wipe with a napkin would no do much. -
Switch out old PLA filament
I had assumed that the filament that came with the printer was still usable. However, had absorbed moisture causing air bubbles to form when melting, as well as snapping very easily when stretched, causing a multitude of failed prints. -
Replace the Hotend
The nozzle was pretty worn when I got it, exacerbated due to my own poor tuning of the machine.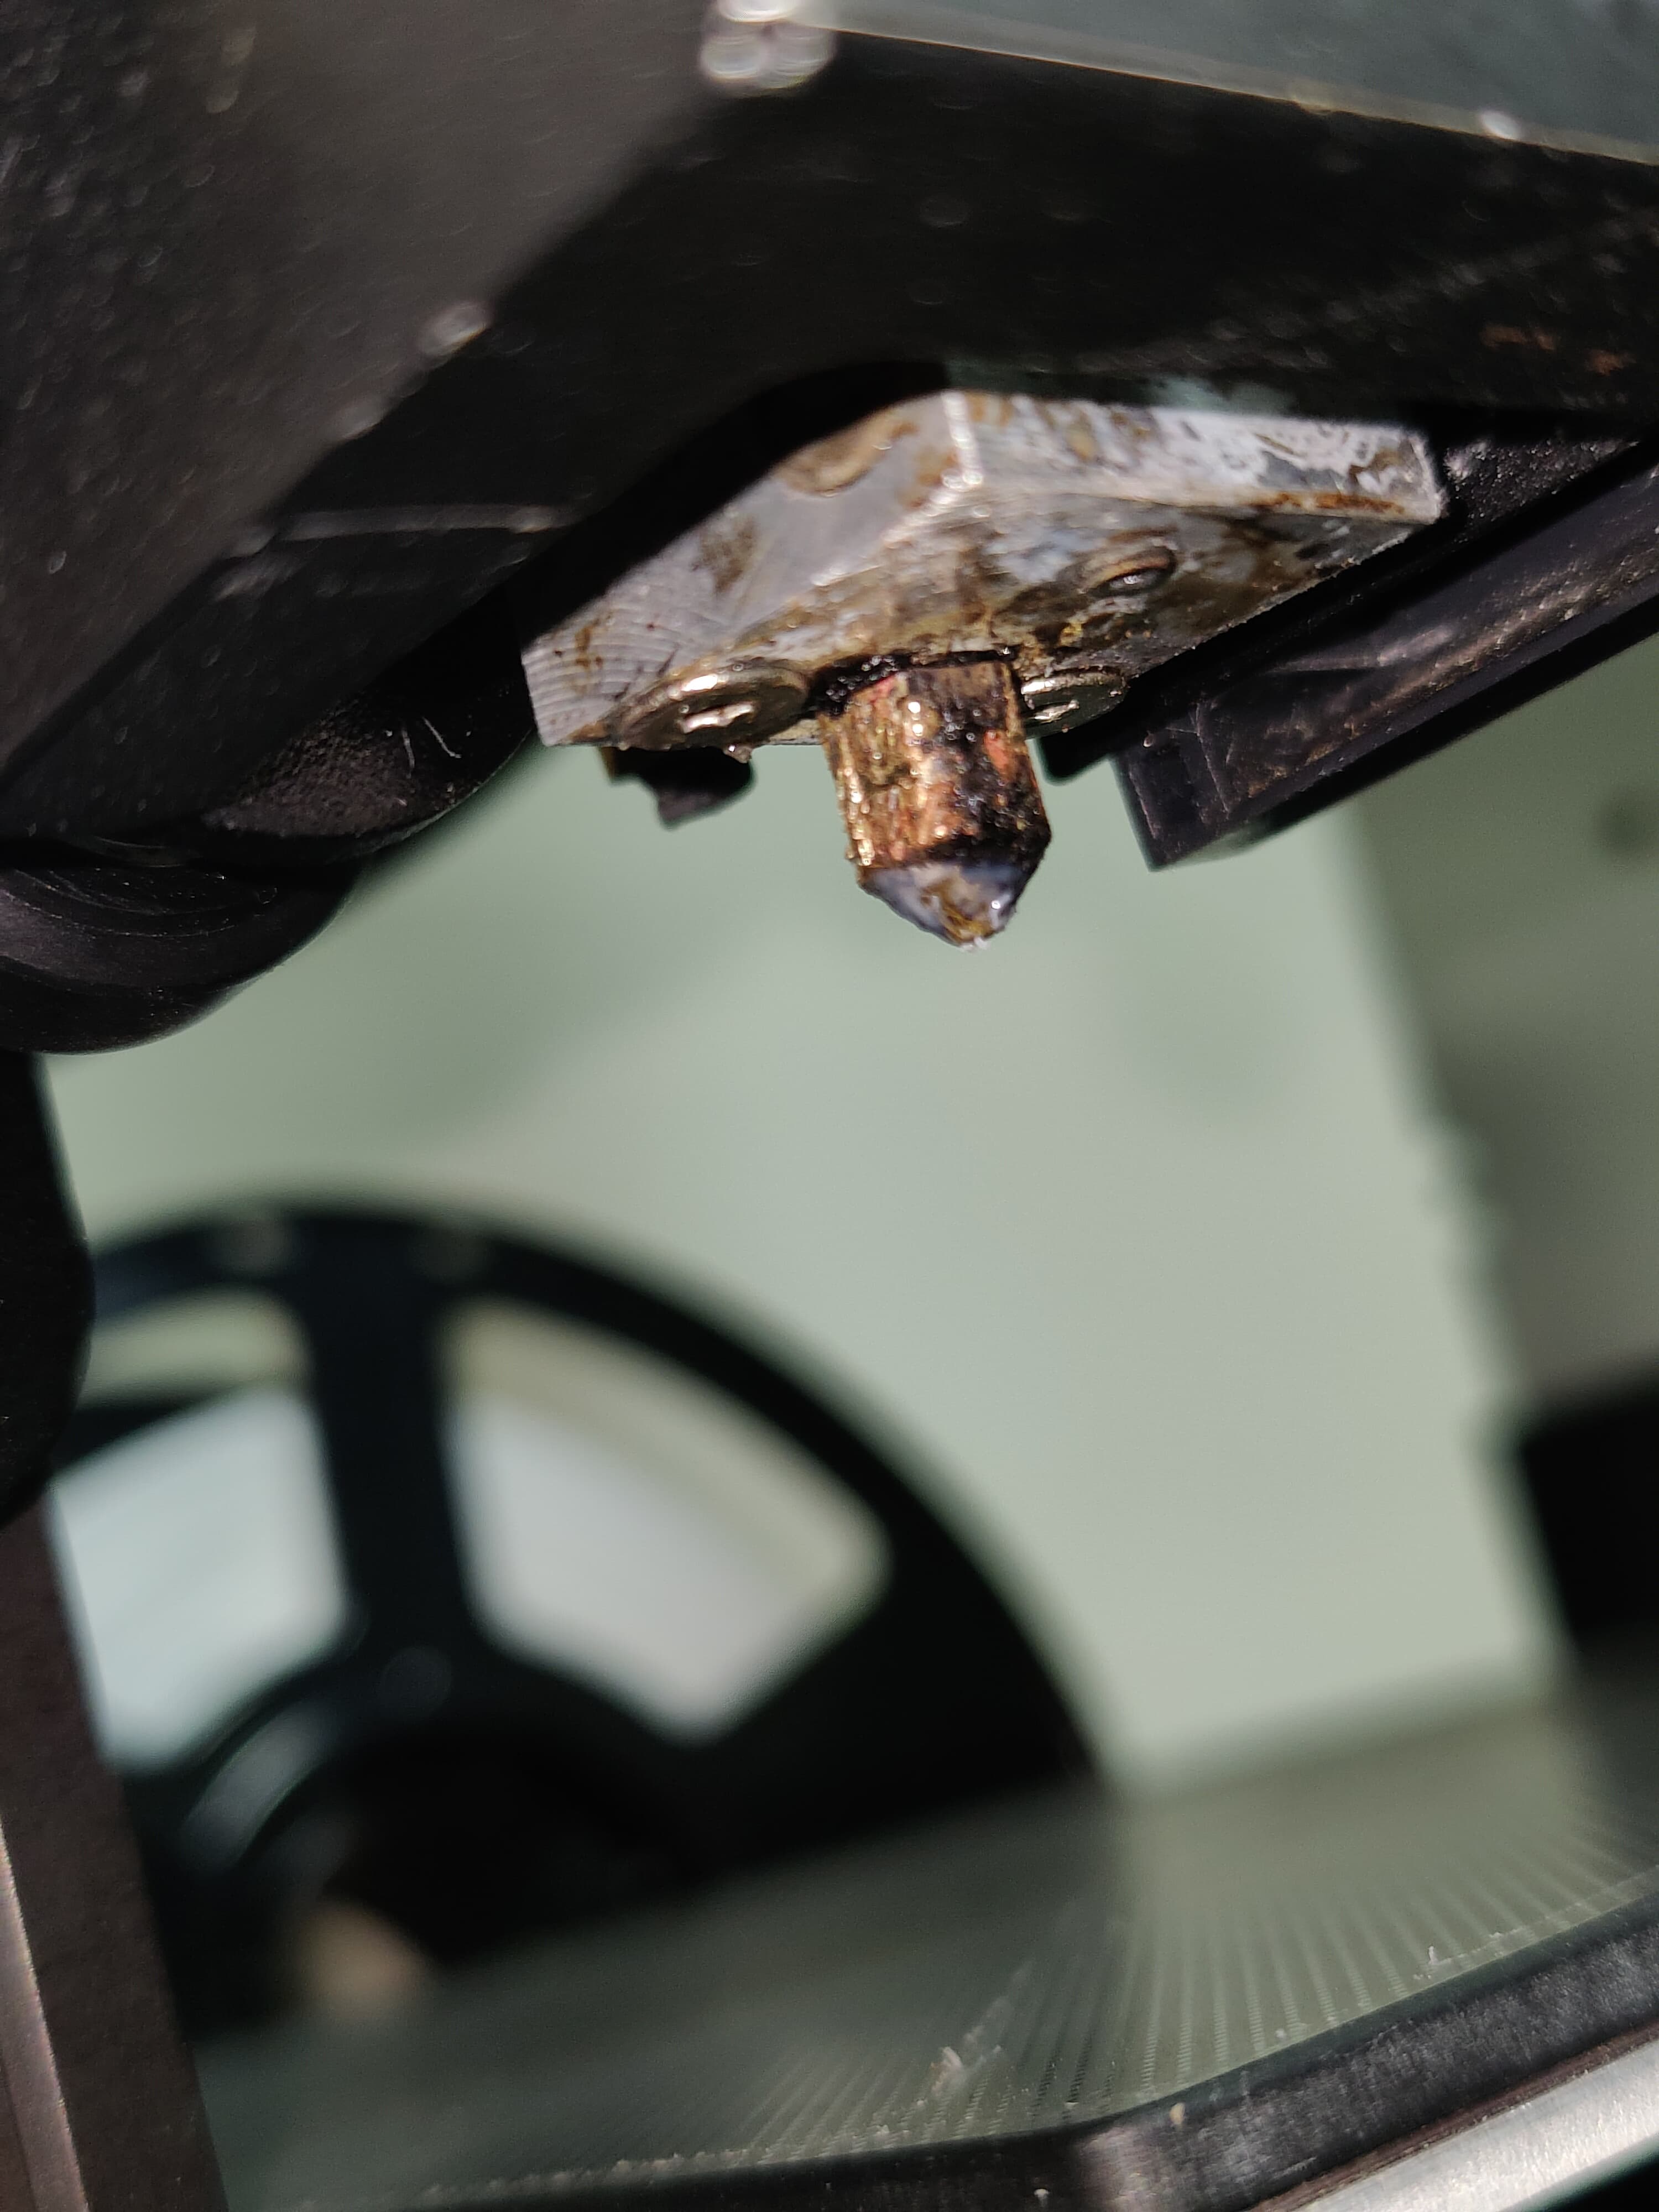
Part of the silicone sock surrounding the nozzle had degraded and gotten in between the nozzle and the heater block, resulting in the nozzle being impossible to take off.
Considering that I could not take the hotend apart to check on its condition, I decided to start afresh and replaced the entire hotend system.
Upgrades
One thing that I have noticed about the printer is that it is very barebones, just enough to function. With the immense online community that the Ender-3 Pro has, there are many upgrades that can be done to improve the printer. I have since added a few upgrades to make the printer more user-friendly and to improve print quality or ease of use.
Some of the upgrades that it came with:
-
3D Touch:
Auto bed-leveling Sensor to help with bed leveling and a software fix to improve first layer adhesion due to small deformations in the bed.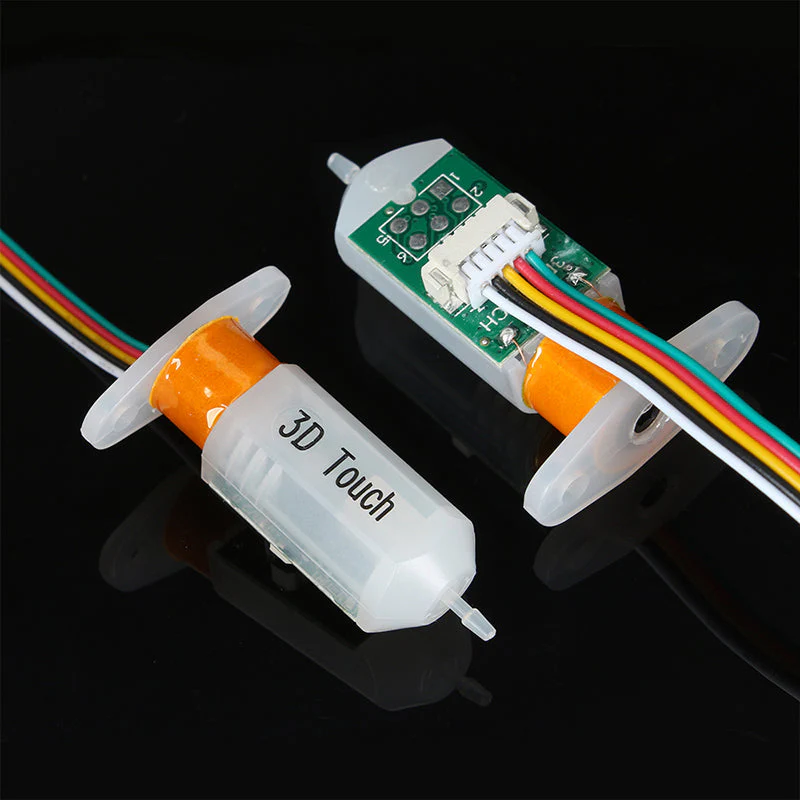
-
Stiffer Bed Springs:
The bed would have less play and would not need to be leveled as often.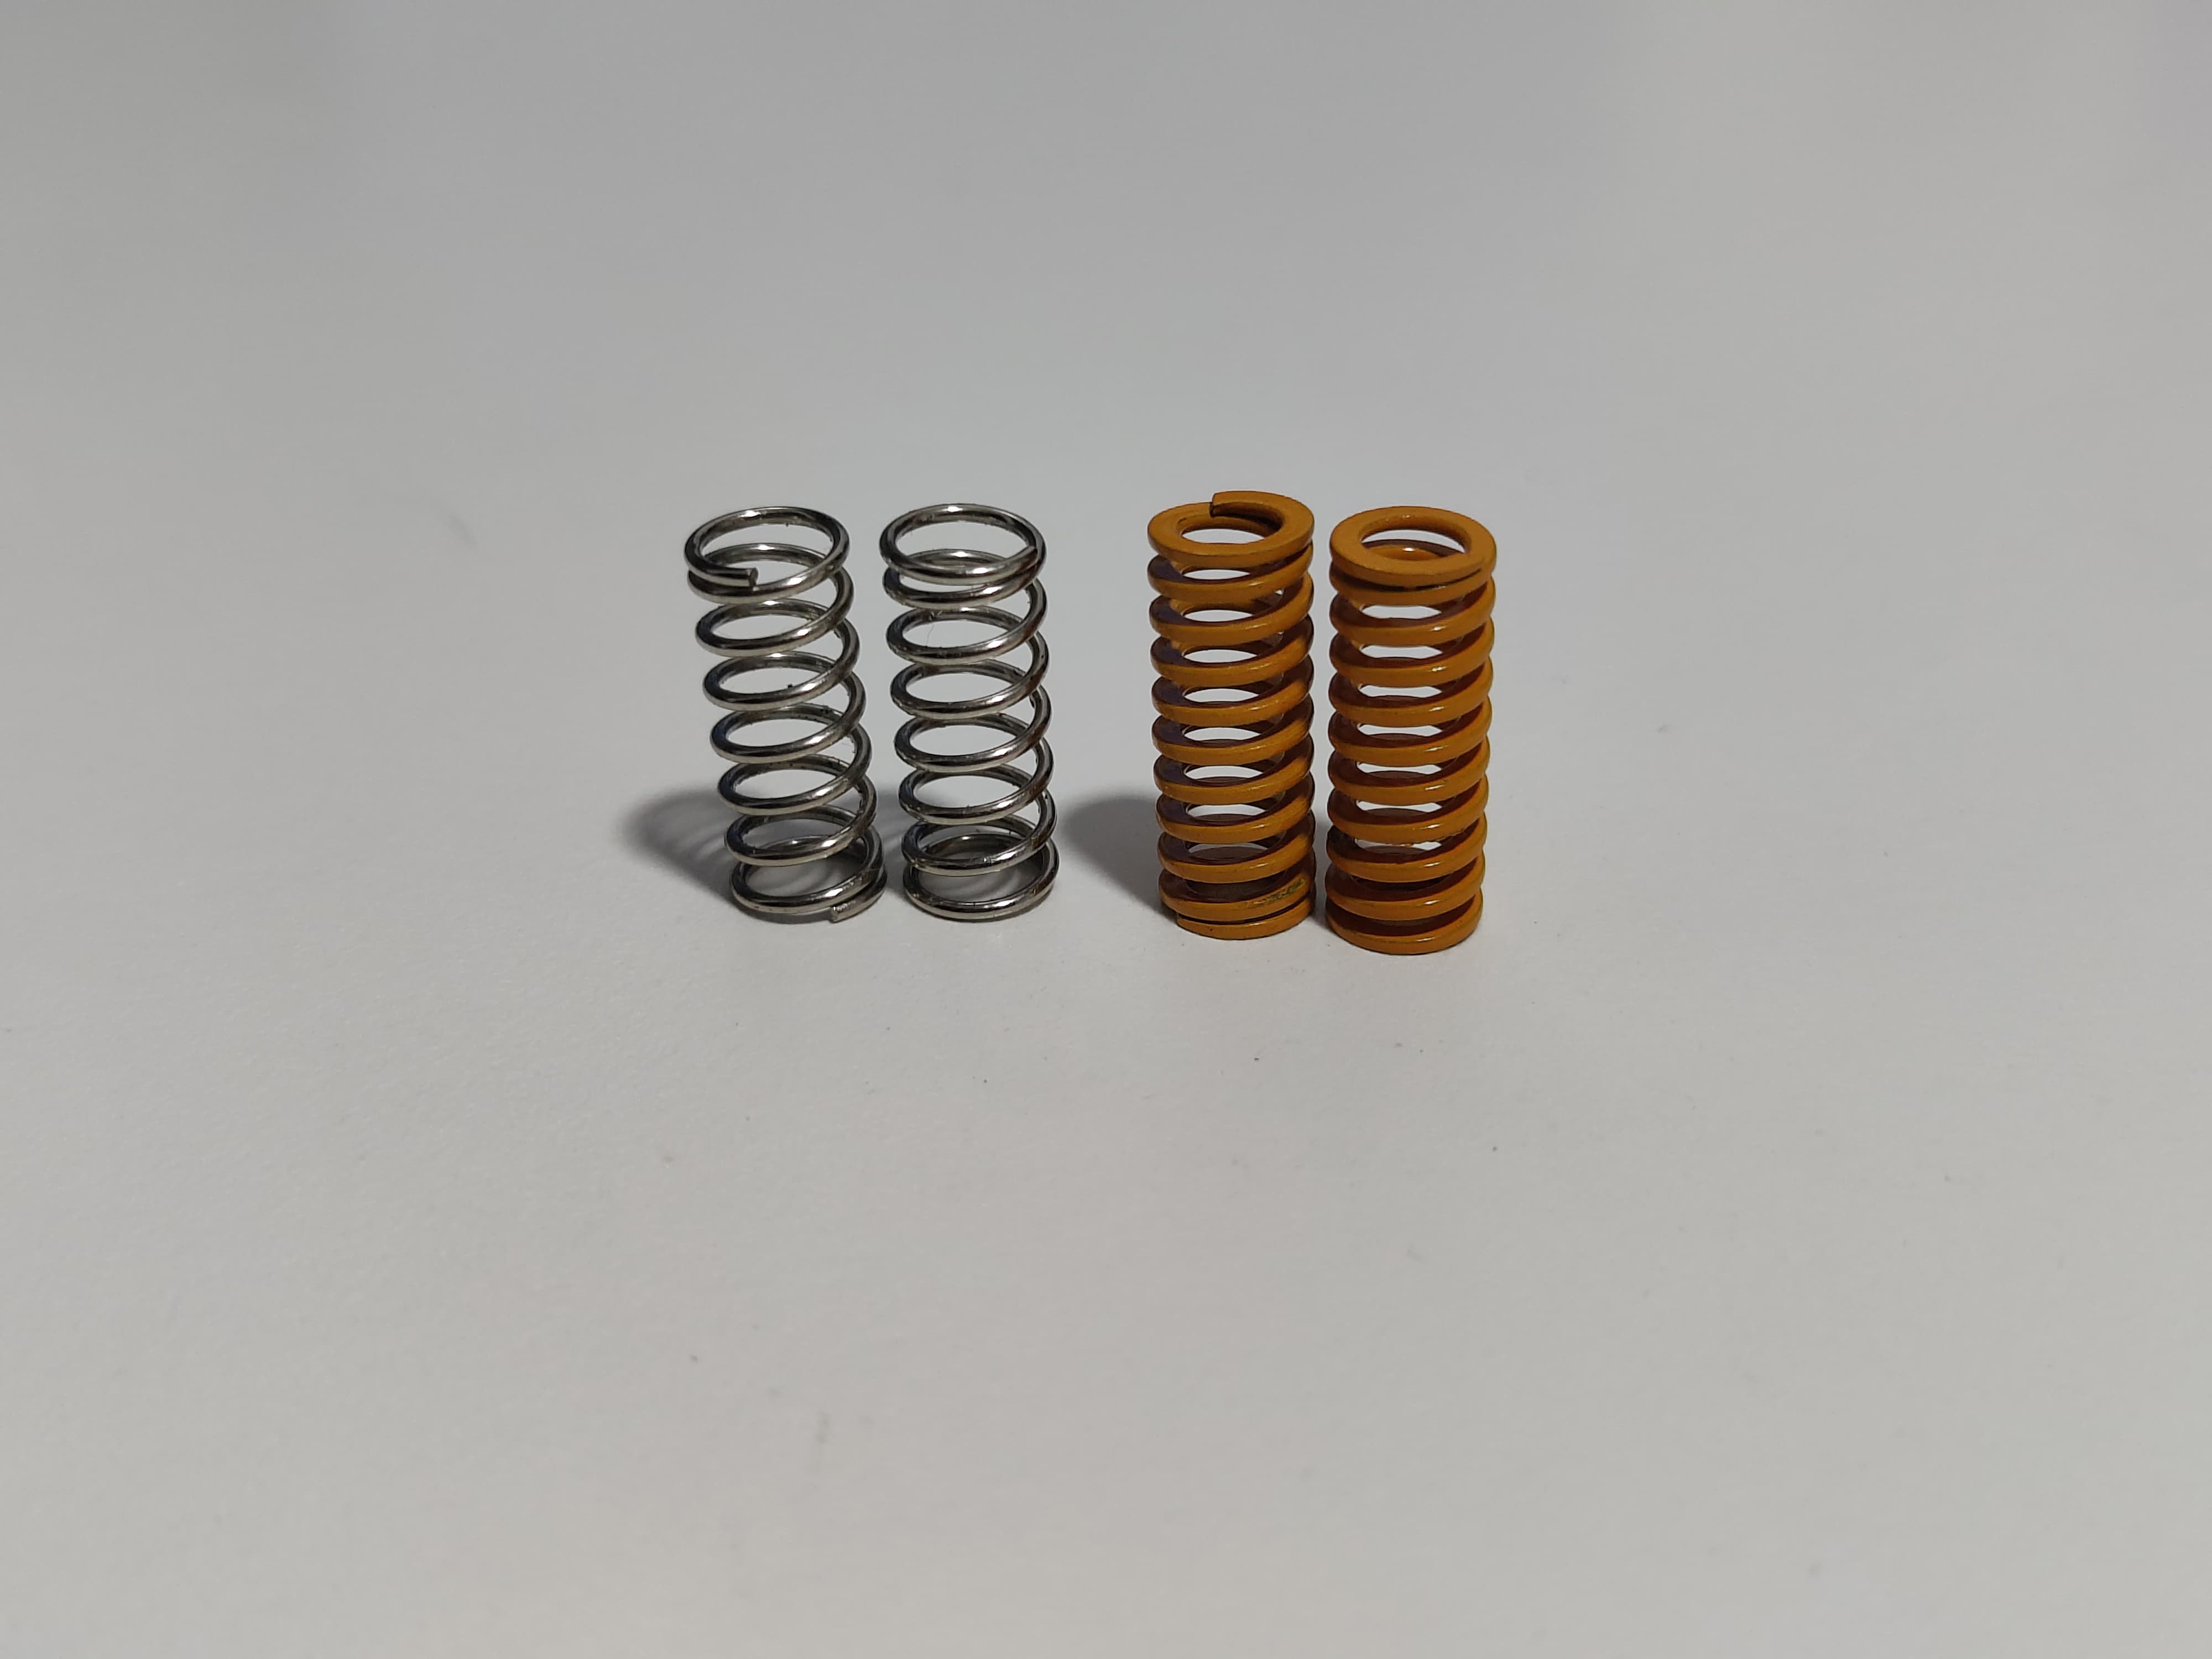
-
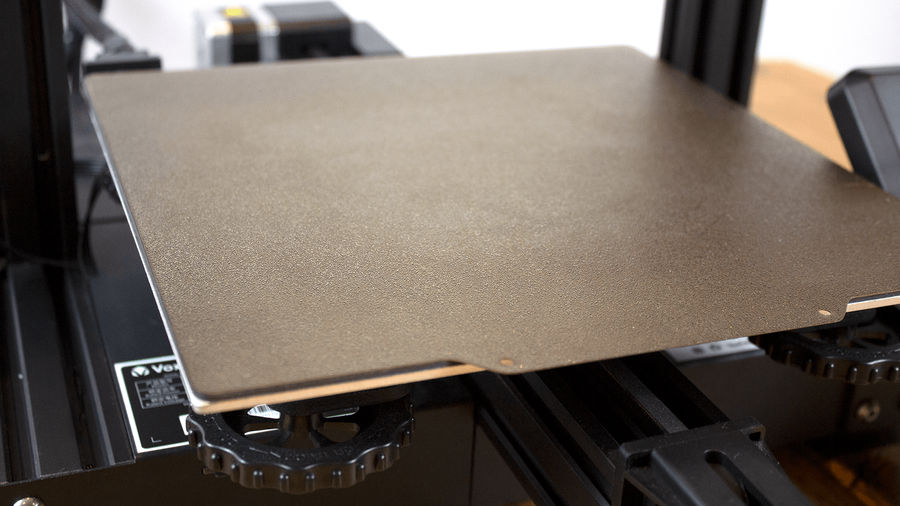
Glass Bed:
Better adhesion and easier to remove prints compared to the original magnetic bed.
Flat surface for better first layers.
-
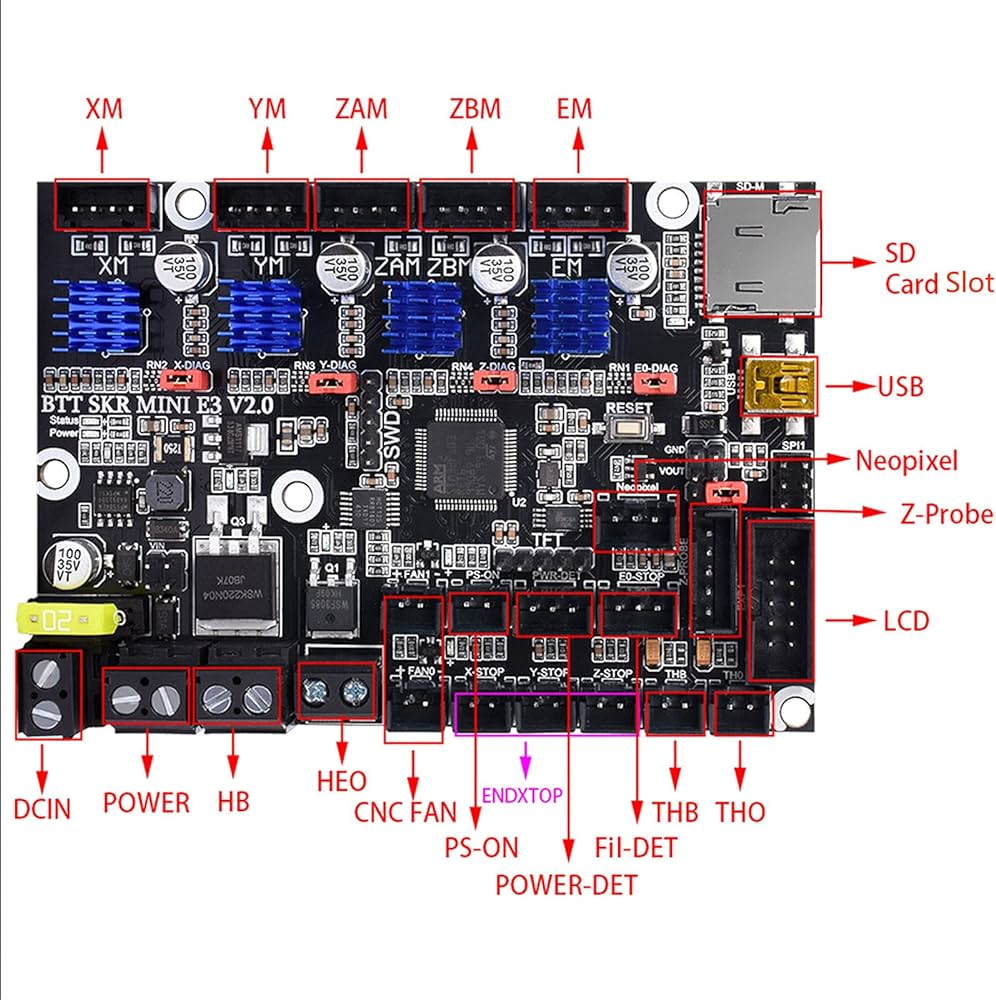
Silent Mainboard Drivers - BTT SKR Mini E3 V2.0 Quieter operation and a more powerful processor to prevent stalling on faster prints.
Personal Upgrades
-
PEI Sheet:
I had heard that PEI sheets were great for adhesion and considering that I was not having great luck with the glass bed, I decided to try it out for myself.
It proved to be a good decision, no more bed adhesion issues, and the added benefit of having a textured first layer.
-
Dual Z-Axis:
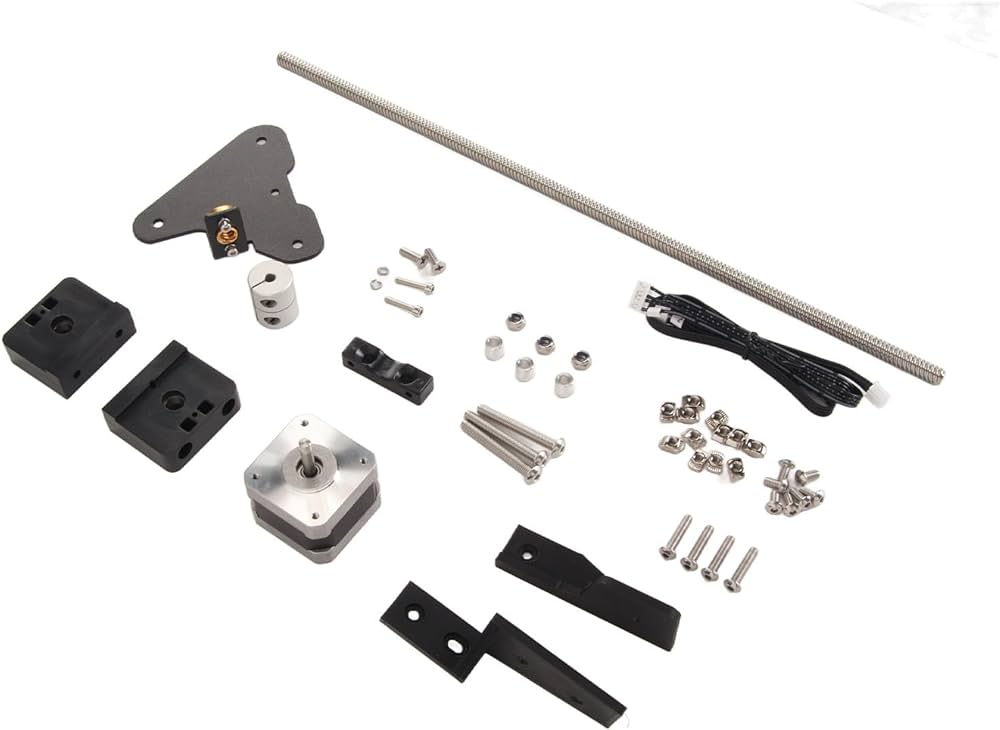
I noticed that the right side of the X-gantry wobbled more than the left side which was supported by the Z-axis lead screw. As the X-gantry was heavy relative to a single stepper motor, my parts came out slightly undersized and with quite a few shifted layer lines. So I decided to add a second Z-axis lead screw to the printer to try an rectify the issue.
-
Power Supply Relocation
Due to the dual Z-Axis upgrade, I had to relocate the power supply to the bottom of the printer to make space for the second Z-Axis lead screw.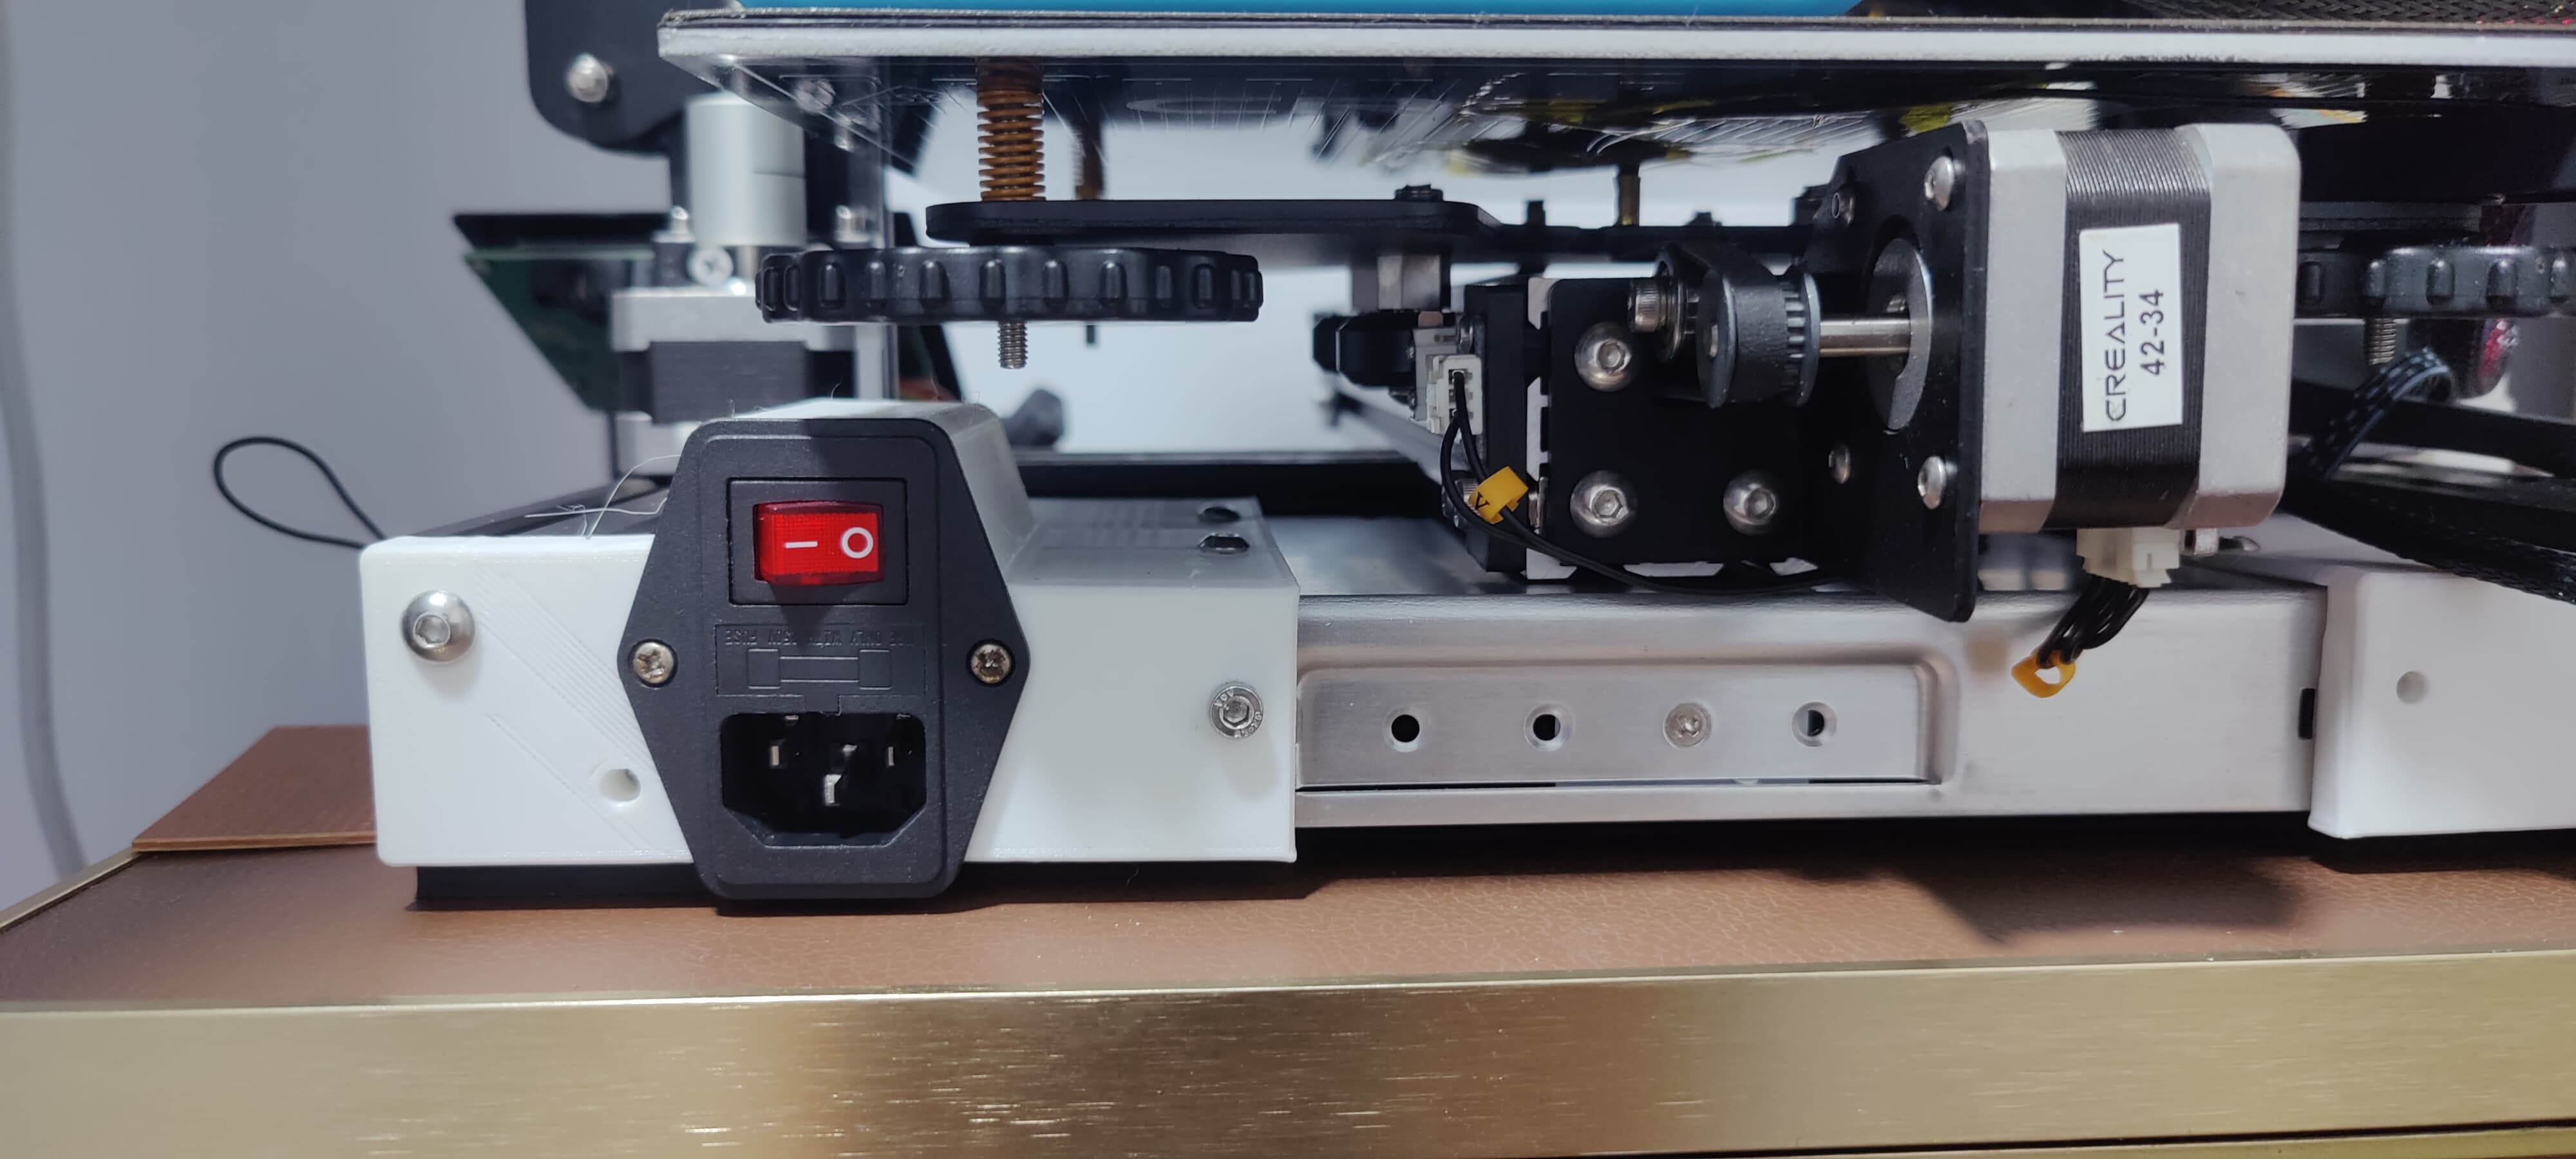
-
Spool Holder:
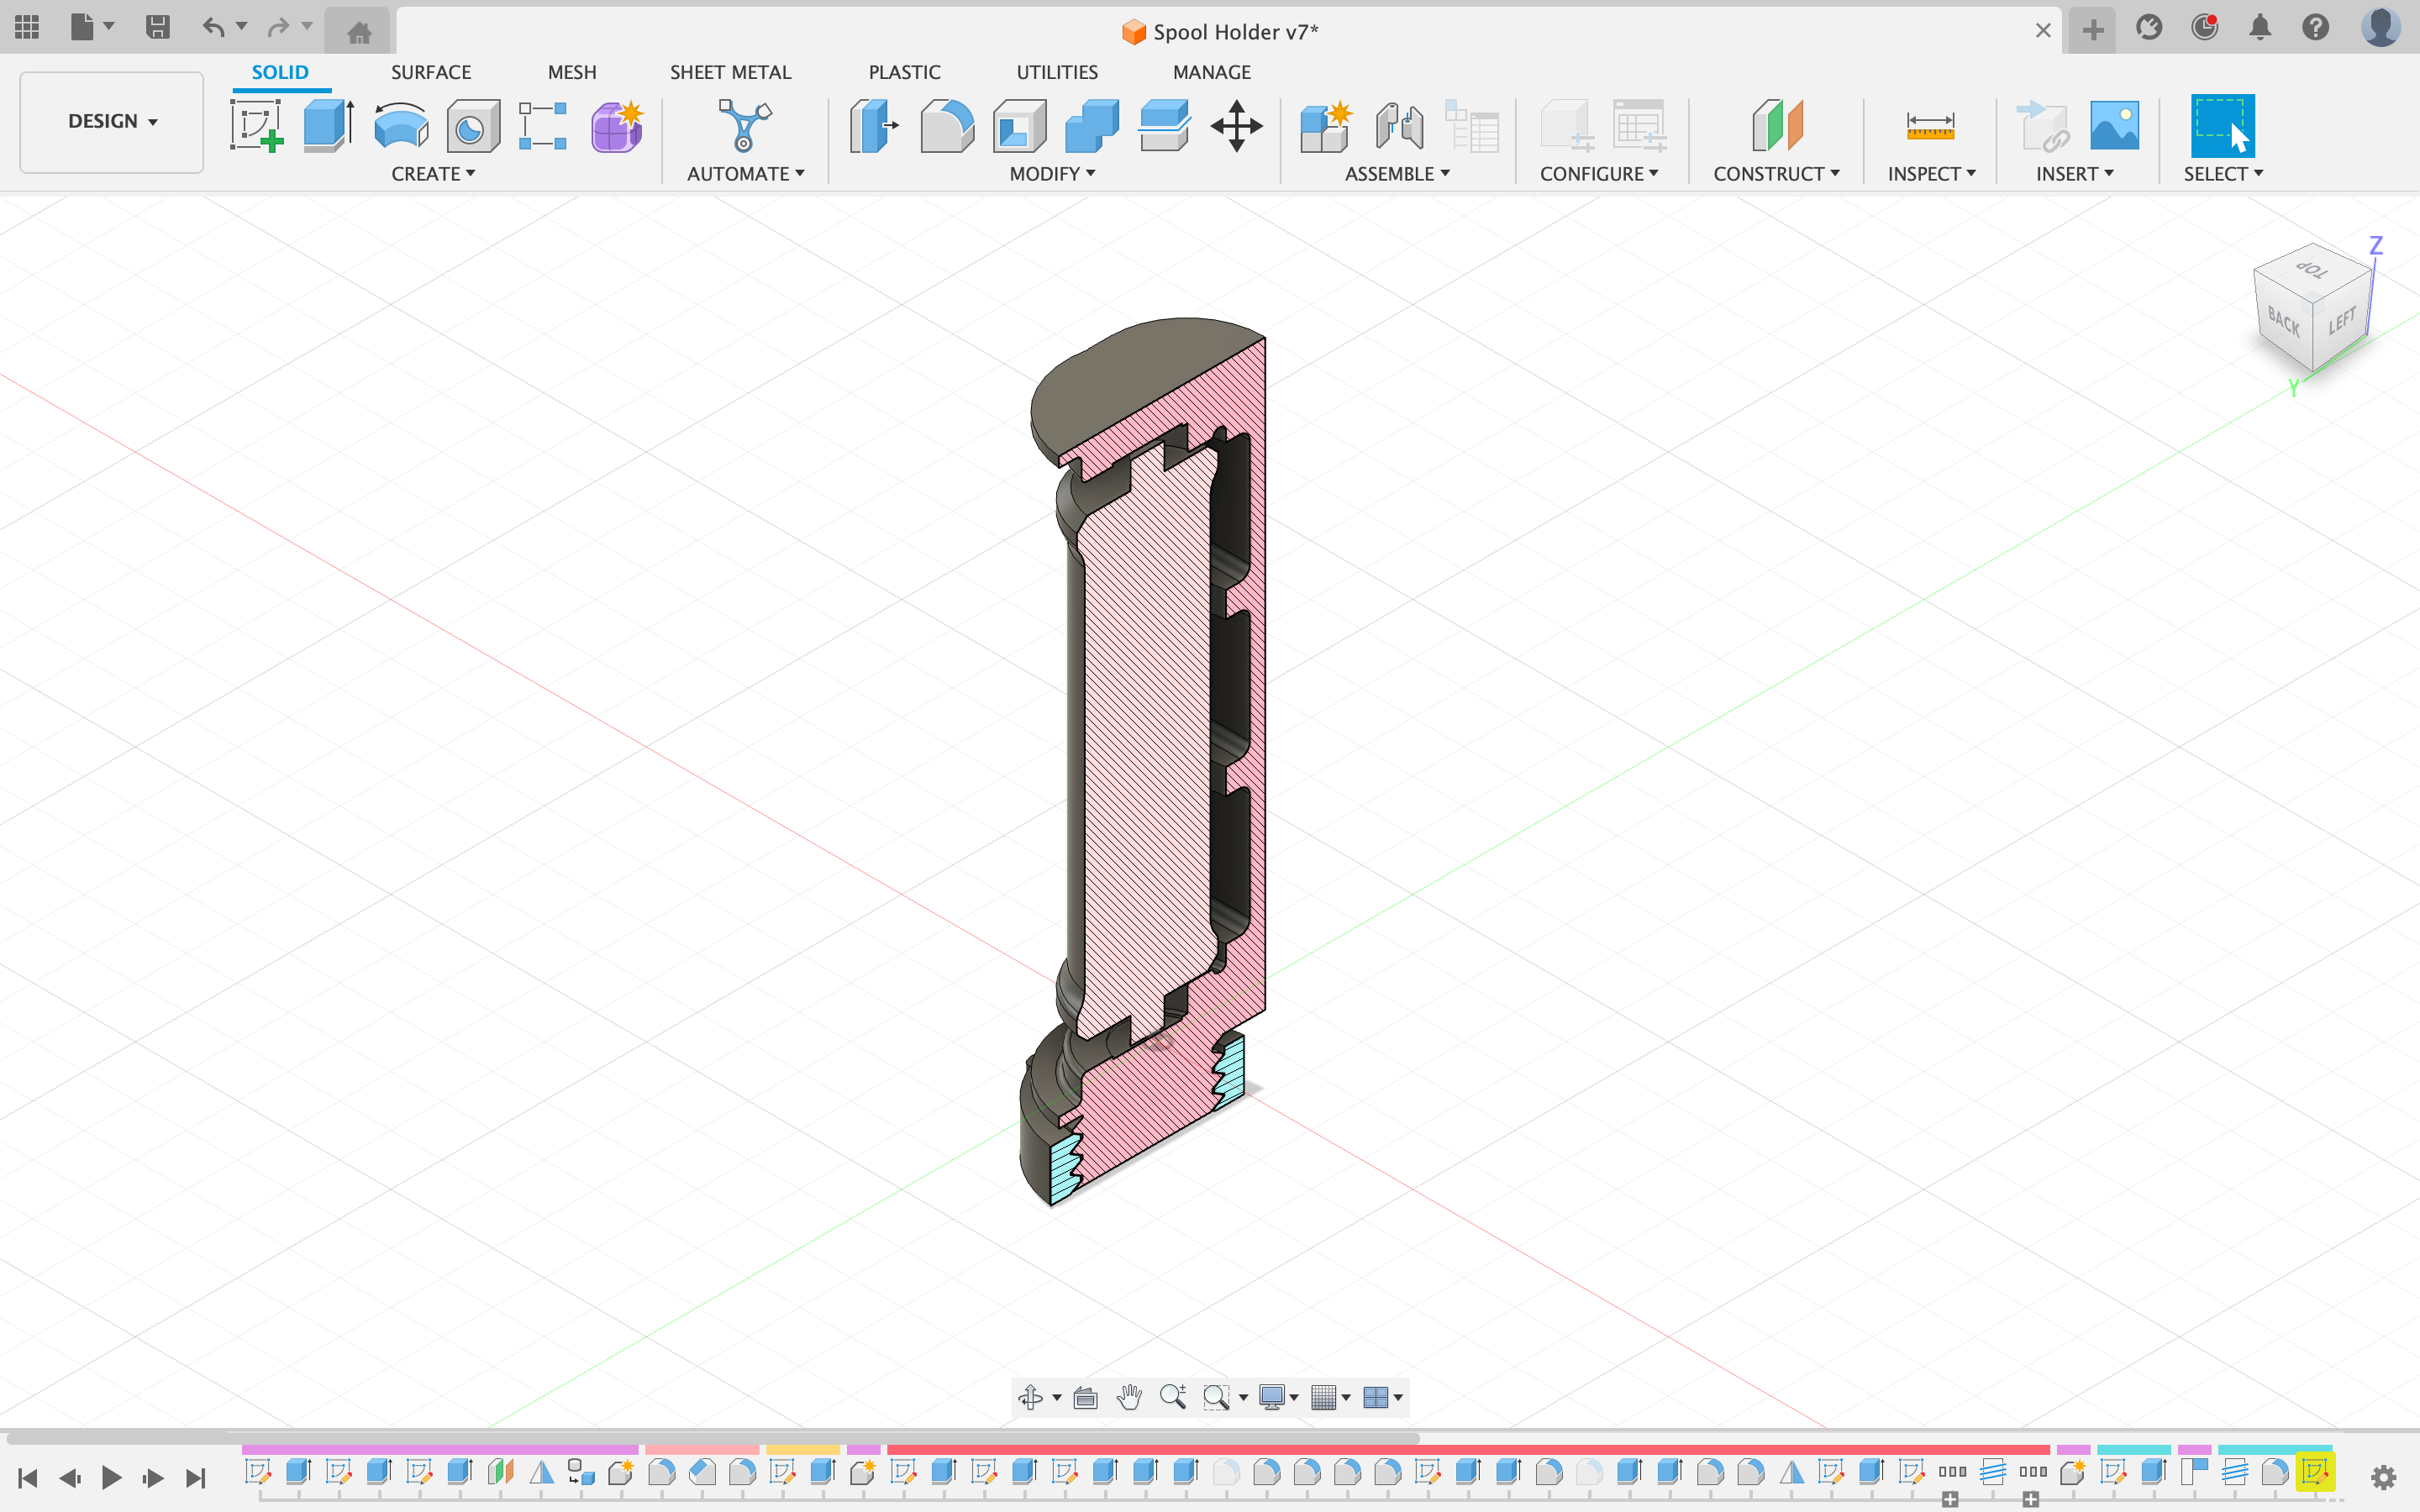
I hated the sound of the spool scratching against the stock spool holder. It always made me feel like something was going wrong. Therefore, I decided to print a spool holder with ball bearings.
However, I realised that the ball bearings that I had were too small for the design I had found online and the design files provided were quite tricky to manipulate.
So I told myself,"It's a CAD design practice"and proceeded to redesign the spool holder to fit my needs, taking inspiration from what I had seen online.